So, you have some content you'd like to add to the site but can't figure out exactly how to get it done? Fear not! This pictorial guide will show you the way, and with a minimum of mockery and condescension to boot. Throughout this guide, simply click on the picture examples to enlarge them to a more readable size. I will use Jim & Susanne's account in my examples, as it will more accurately reflect what the rest of you will see at each step.
Step One: Log In
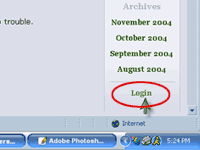
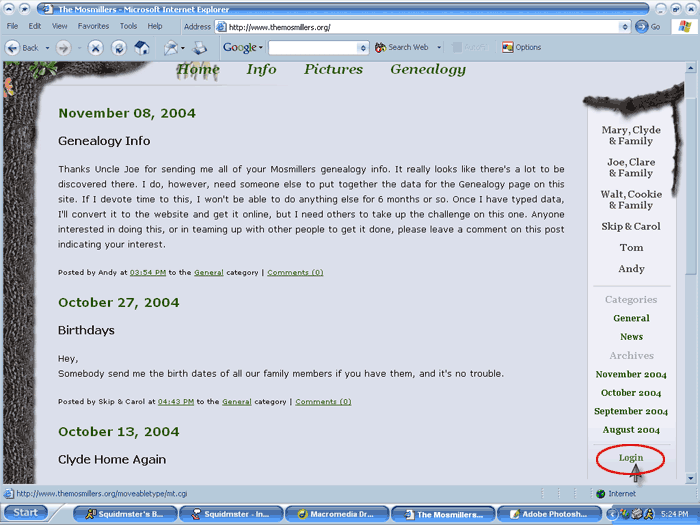
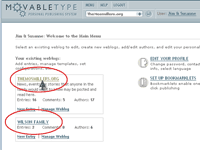
- Click the Login link at the bottom right of any page on TheMosmillers.
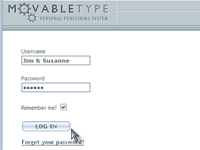
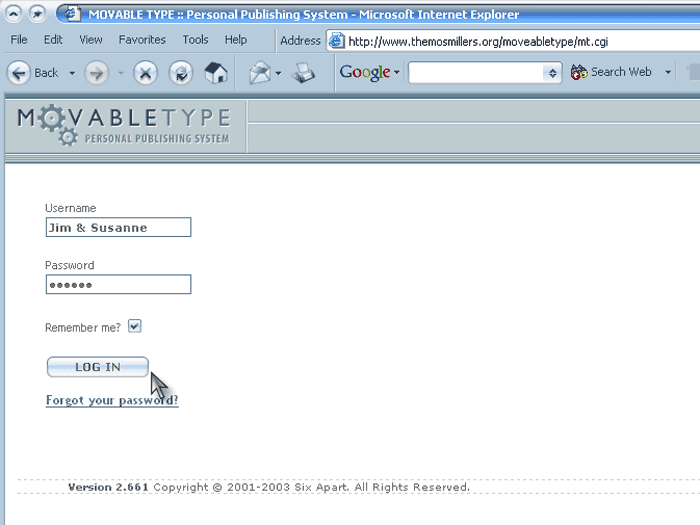
- Type in your login name (case sensitive) and password in the spaces
provided.
Step Two: Select a Web Log
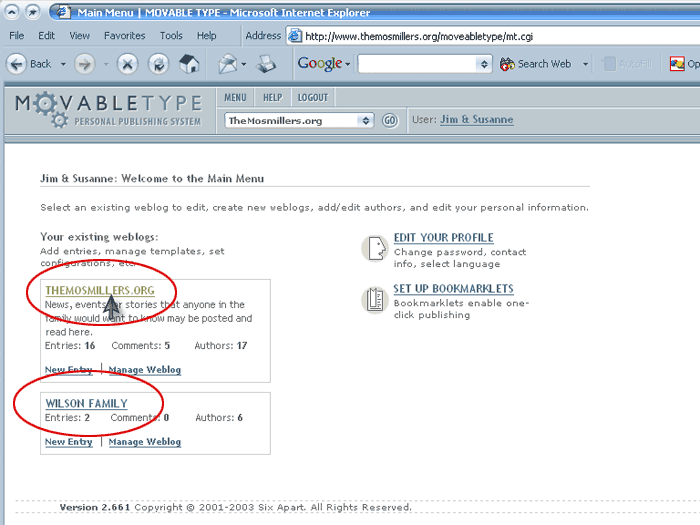
Once you have successfully logged in, you should have access to two web logs (or "blogs" as they are commonly known.) At this point I need to clarify what I mean by the term "subfamily" in the upcoming instructions. As you can see by looking at the links to the side of any of the pages on the website, you have options to go to a "Mary, Clyde & Family" page, a "Joe, Clare & Family" page, and so on. I'm defining each of these individual familes, such as Aunt Mary, Uncle Clyde, their kids, and grandkids, as a subfamily. This holds true even for those of us who are individuals, like Uncle Tom and myself. It's just easier to use this term than to try to work around the concept every time with descriptions.
The top blog, "THEMOSMILLERS.ORG", contains all posts visible on the home page and should be used for posts relating to the family as a whole. The bottom blog, corresponding to your subfamily's name, (like "WILSON FAMILY", "CARRION FAMILY", and so on), contains posts viewable via the similarly named link on any of the pages on the site and should be used for posts relating mainly to your subfamily. For example, if Jim wants to post something he thinks everyone would want to read without looking for Wilson family info (like health issues or whole-family events) he should post to "THEMOSMILLERS.ORG", but if he wants to talk about what his family is up to or invite his folks up for a visit, he should post to the Wilsons page. Anyone who then wants to read about the Wilson family can do so by clicking on the "Mary, Clyde & Family" link on any page on the website. You can get the idea by looking at the main page and then my page (the Andy page) if you want to see the difference in the type of content you'll see in each area.
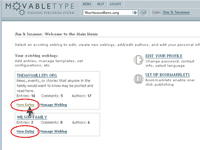
- To gain access to the web log overview, which has options for posting,
editing old posts, and viewing the five most recent posts, click on the
name of the web log itself.
- or -
- If you prefer to skip the niceties and just post something right away,
click the "New Entry" text underneath the name of the web log.

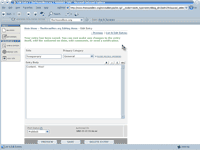
Step 3: Post Content to the Website
At this stage I am assuming you have selected the "New Entry" option, either via the method outlined above or after going to the overview page and selecting it there. Refer to the following image for steps 1-5:
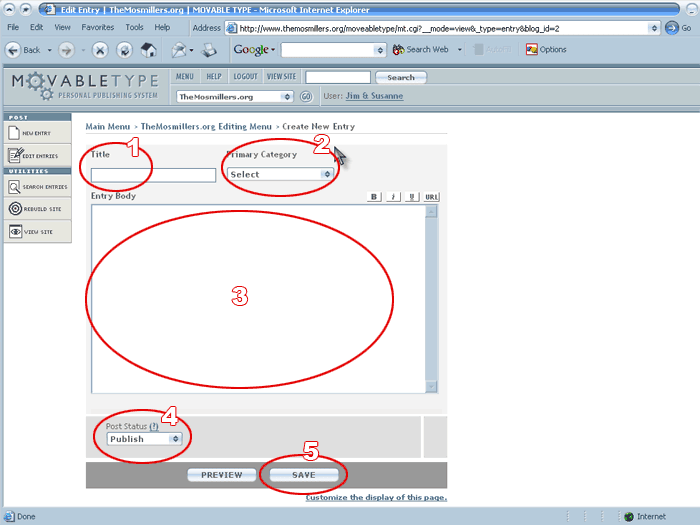
- Type in a title for your post.
- Pick a category if this option shows up. As it stands, categories are set up by family, which allows any of us to look into the happenings of your particular family within the larger subfamily. It's just a means of organizing the archives, but an important one nonetheless. I did not include the category options if you are the only family within that group to begin with, such as my parents or Uncle Tom. Be aware: "Select" is not a category. This is just to prompt you to pick a category from the drop-down list, which will have an option for your family.
- Write your post here. If you want to do something fancy, such as including a picture, email me and I'll help you out with specific instructions.
- The "Post Status" menu lets you choose between Draft and Publish modes. Your default option will be publish, which means your post will instantly appear on the site. If you choose draft, your post will instead be saved for you to review later, but will not show up on the website until you change the post status to publish.
- Click on the "Save" button to have your post save and appear on the
website, (or be available for later review if you have switched the post
status to draft.) Note:
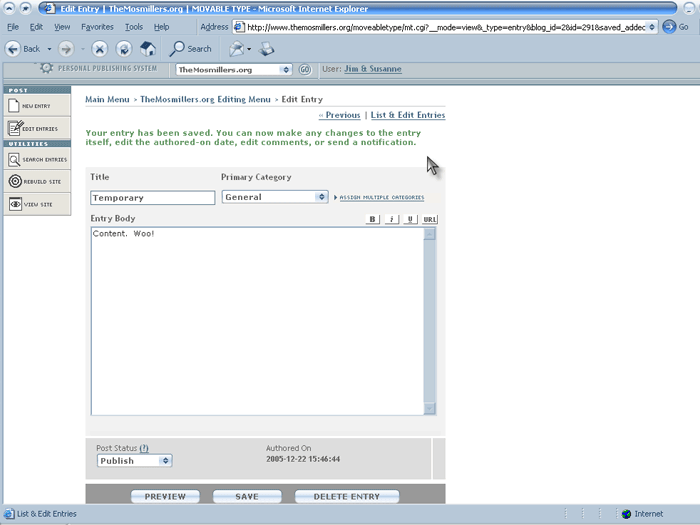
When you click "Save", the screen will switch and a brief "rebuilding
entry" message will appear. Once this passes, you're put right back into
the message, which may be confusing since you have already saved your
post. Once this happens, you will see a screen that looks something like
this:
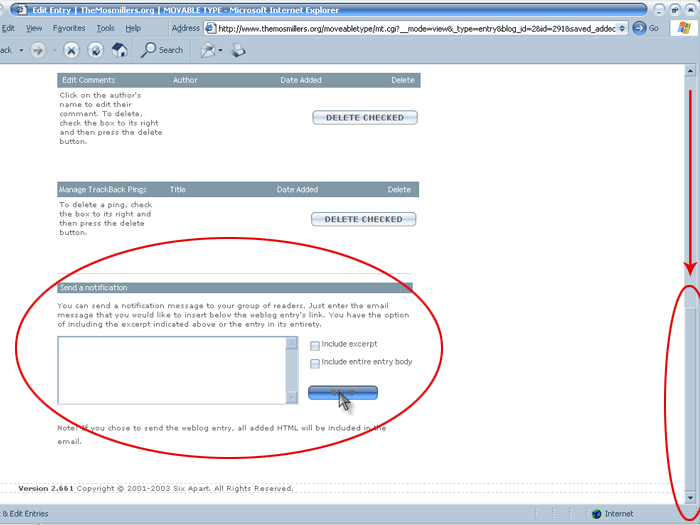
Step 3: Send a Notification
Once you have saved your post you will want to have the system send an email to everyone subscribed to the list (I handle that part.) After seeing the confirmation screen above, scroll down the page to the "Send a notification" section as shown below. To send a notification, simply click the "Send" button as indicated in the picture. If you wish, you may include an excerpt of your post in the notification or even include the entire post content in your email by checking one of the boxes just above "Send", but that is purely optional. Additionally, you may type a brief message with additional details in the box provided, but again, this is optional.
Once you have sent your notification, you are done! At this point you may close the window or use it to travel elsewhere on the web. You may use the "View Site" button at the top of the page to see your post on the site if you wish. If you go back to the site and do not see your post, do not despair. If this occurs, try clicking the "Refresh" button in your browser, and if this fails you may have to wait roughly a day to see your post on your own computer. Others can see the results immediately though, so you need not worry about it."
If you experience any problems during or after completing this process, do not hesitate to . Thanks for posting!